Version-verified guide
Valheim Mistlands Guide — Wisplight, Eitr Magic, Dvergr and The Queen
The full Mistlands guide for Valheim 1.0: the Wisplight and Wisp Torch system to beat permanent fog, building the Eitr Refinery and Galdr Table for magic, raiding Dvergr Settlements for Extractors and Soft Tissue, and fighting The Queen with Sealbreaker Fragments.
By Valheim Field Guide Editorial Team
The Mistlands is where visibility becomes your only problem
Nothing in Valheim prepares you for the Mistlands. The moment your Longship rounds those jagged black cliffs, you realize this is a fundamentally different biome. A permanent mist blankets everything — visibility drops to 2-3 feet without a Wisplight. The terrain is a chaotic mess of steep valleys, ravines, and towering black crags. And somewhere in the haze, things are buzzing. Loudly.
The Mistlands introduces two new systems that change how you play: Wisplight navigation and Eitr magic. Both require significant prep work before you can even see inside the biome, let alone fight anything.
Please accept cookies to enable this feature.
Step 0 — do this at home before sailing
You cannot survive the Mistlands without these two things. Do not sail until you have them.
Wisp Fountain + Wisplight
- Build a Wisp Fountain at your home base: 10 Stone + 1 Torn Spirit at a Stonecutter. This uses the Torn Spirit from Yagluth.
- At night, walk near the fountain and catch Wisps by pressing E. They look like glowing blue orbs floating 1-2 feet off the ground. One fountain produces ~9 Wisps per night.
- Craft Wisplight: 1 Wisp + 1 Silver at a Workbench. This goes in your accessory slot (not hotbar). It clears fog in a 10-meter radius around you.
- Optionally craft Wisp Torches: 1 Wisp + 1 Yggdrasil Wood (you need Yggdrasil Wood from the Mistlands first, so these come later). Wisp Torches are placeable and clear fog permanently in a 12-meter radius — spam them along your exploration routes.
The Root Harnesk stays
Yes, you wore it in the Plains for Deathsquitos. Wear it here too. Most Mistlands enemies (Seekers, Ticks) deal pierce damage. Root Harnesk’s pierce resistance keeps you alive.
Preparation checklist — what to bring
| Item | Why |
|---|---|
| Wisplight (equipped) | Non-negotiable. You cannot see without it. |
| Root Harnesk | Pierce resistance for Seekers and Ticks. |
| Padded Armor (Plains tier) | Best physical armor you can bring in; Iron + Linen Thread, crafted at a Forge. |
| Porcupine or Frostner | Porcupine (5 Needles + 20 Iron + 5 Finewood + 10 Linen Thread, a Forge weapon) brings strong blunt damage into the fog. Frostner’s slow is also great. |
| Bow + 20 frost or poison arrows | Ranged damage for Seekers and Gjalls you cannot reach safely. |
| Barley Wine (fire resistance mead) | Gjalls shoot fire projectiles. |
| Onion Soup + Lox Meat Pie + Barley Wine | Three-food buff with maximum health and stamina. |
| 2 Portal pairs | One at your Plains outpost, one at home. Portal network is critical here — you will haul lots of resources. |
| Longship marked on map | Mistlands resources are heavy and some block portals. |
Resources that block portals in the Mistlands
- Dvergr Extractor — critical for Sap Extractors. You must sail it home.
- Black Metal scrap — you already knew this from the Plains
- Black Cores — do these block portals? Reports are mixed. Play it safe and sail important items.
- Sealbreaker Fragments — do NOT lose these. They unlock The Queen’s boss arena.
Enemies of the Mistlands — what hunts you in the fog
Seekers (most common threat)
Seekers are large chitinous insects that patrol the fog. They are the main reason you need Root Harnesk — they hit hard with pierce damage, and there are a lot of them.
- Health: 600-1000 depending on star level
- Attack pattern: run at you, jab with front legs (pierce), or shoot a single needle projectile from range
- Weakness: slow when hit with frost, vulnerable to blunt damage from Porcupine
- Strategy: Root Harnesk + Porcupine. Parry the jab → counter. Or kite with frost arrows.
Ticks
Tiny spider-like creatures that crawl on the ground and attach to your legs. Each Tick applies a 15-second poison debuff that drains health fast. They are easy to kill with a quick sword swing before they attach.
Gjall
Large glowing beetles that fly and shoot fire projectiles. They are rare but hit very hard.
- Strategy: shoot with frost arrows from range. Bring Barley Wine for fire resistance. If one flies at you, dodge the projectile and shoot it down before it gets close.
Dvergr — the neutral-if-not-provoked race
Dvergr are small dark dwarven creatures that build settlements in the Mistlands. They are neutral unless you loot their containers or attack them. If you leave them alone, they leave you alone. If you steal from their chests, every Dvergr in the settlement becomes hostile — including the Mage variants that shoot homing magic orbs.
Why you care about Dvergr: their chests contain Dvergr Extractors (needed for Sap production) and Soft Tissue (needed for Refined Eitr). This is a tradeoff: loot = start a fight, no loot = no magic.
Raiding a Dvergr Settlement — the recommended approach
- Scout with Wisplight on a high spot. Count how many Dvergrs, if there is a Mage (hooded Dvergr with staff), and where the extractor chest is.
- Divert first. If there are Seekers or Gjalls nearby, let them attack the Dvergrs. Use the Wisplight to guide enemies into the settlement.
- Smash the extractor chest first. The Dvergr Extractor is in a wooden chest with blue runes. Smash it with one weapon swing — fast.
- Loot and run. Grab the Extractor, any Soft Tissue nearby, and retreat before Dvergrs notice. If they do notice, sprint to your Wisp Torch corridor where you can see them coming.
- If you must fight: prioritize the Mage (highest damage). Use Porcupine’s backstab bonus for quick kills.
What Dvergr Settlements contain
- Dvergr Extractor (1-2 per settlement) — blocks portals, sail it home
- Soft Tissue (multiple per chest) — also mineable from Soft Tissue nodes in the open Mistlands, does not block portals
- Black Marble (building material)
- Black Cores (for Black Forge)
- Yggdrasil Wood (chop the glowing black trees)
The three crafting stations — unlocking magic
The Mistlands adds three new crafting stations that form a dependency chain:
1. Black Forge
First station you will build. Needed for:
- Crafting Carapace Armor, Mistlands weapons and the Arbalest
- Crafting Ashlands-tier Flametal gear once you have it
- Higher-level upgrades for Mistlands/Ashlands weapons and armor
Recipe: 10 Black Marble + 10 Yggdrasil Wood + 5 Black Core (at Workbench)
2. Eitr Refinery
The magic resource machine. Takes Sap (top slot) + Soft Tissue (side slot) → produces Refined Eitr. While refining, it shoots damage spheres in a 5-foot radius — build it outside and away from walls.
Recipe: 20 Black Marble + 5 Black Metal + 10 Yggdrasil Wood + 5 Black Core + 3 Sap (at Workbench)
3. Galdr Table
The magic crafting station. Uses Refined Eitr to craft magic staffs, Eitr-weave Armor, Feather Cape, and the Sealbreaker.
Recipe: 10 Black Metal + 20 Yggdrasil Wood + 5 Black Core + 5 Refined Eitr (at Workbench)
The magic resource chain
Dvergr Settlement → Dvergr Extractor (portal blocked!)
Sap Extractor (on Yggdrasil Root) + Yggdrasil Wood + Black Metal + Dvergr Extractor
     ↓ produces Sap
Eitr Refinery + Sap + Soft Tissue → Refined Eitr
     ↓
Galdr Table → Magic staffs, Eitr Armor, Sealbreaker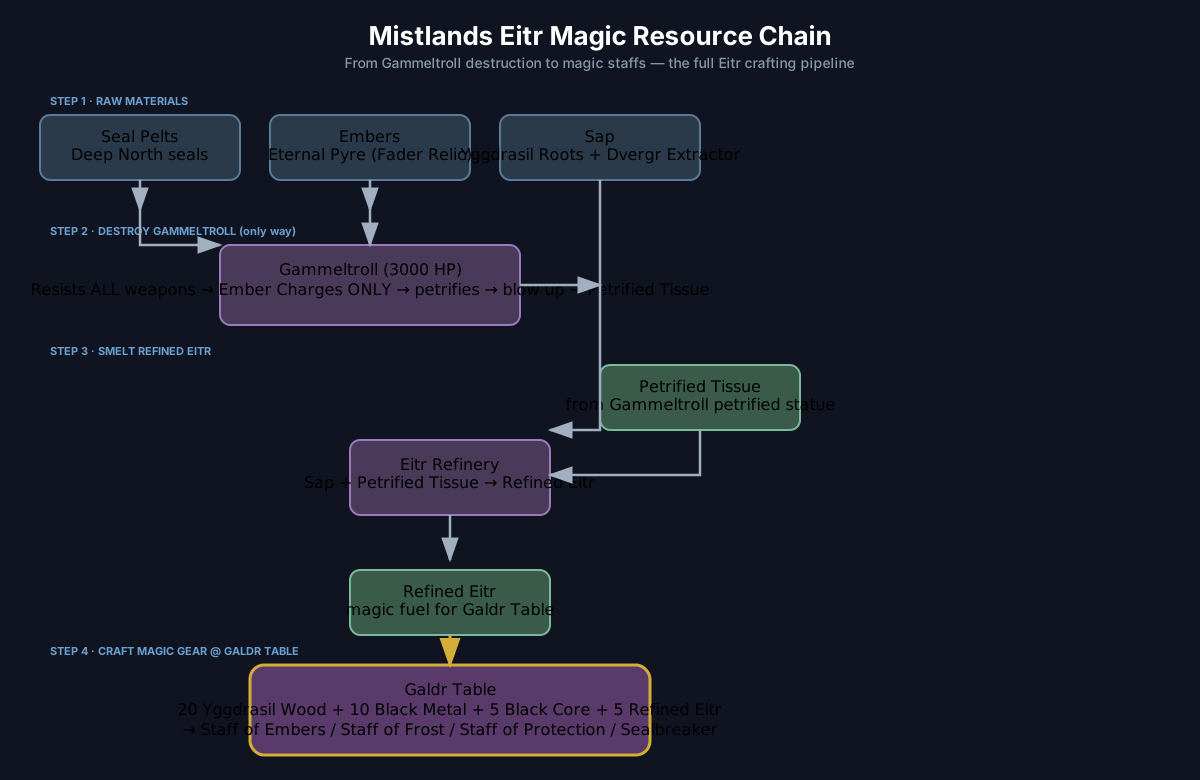
Four magic staffs
| Staff | Effect | Best against |
|---|---|---|
| Staff of Embers | Fire bolts + burning DOT | Dvergrs, structures, enemies weak to fire |
| Staff of Frost | Frost bolts + slow debuff | Seekers, Ticks, everything that moves fast |
| Staff of Protection | Summons a protective bubble | Boss fights, Gjall attacks |
| Dead Raiser | Blood magic — summons tamed skeletons that fight for you | Consumes Eitr and a chunk of current Health; the Mistlands’ fourth staff |
Infested Mines and Infested Citadels — The Queen’s path
The Queen does not summon from a simple altar. You need two things, both from dungeons:
Sealbreaker Fragments (Infested Mines)
Infested Mines are Mistlands dungeons with glowing red entrances. Clear Seekers and Ticks, smash walls, and look for chests with Sealbreaker Fragments. You need 9 fragments to craft the Sealbreaker at a Galdr Table.
Infested Mines also contain a Vegvisir that points the way to the Infested Citadel — The Queen’s boss arena.
Infested Citadel (The Queen’s arena)
The Citadel is a large stone structure marked by the Vegvisir. Inside, you find a sealed chamber. Use the Sealbreaker on the altar to unseal the chamber and summon The Queen.
The Queen mechanics (high level — you have been warned)
The Queen is Valheim’s hardest boss. She is a massive flying insect with:
- Pierce projectiles (fast, hard to dodge)
- Charge attacks (she flies at you fast — Dodge roll or block with Porcupine)
- Summons Ticks periodically
- No weakness — she is resistant to pierce and immune to spirit, with neutral damage taken from blunt, slash, fire, frost, lightning and poison. Porcupine is the wrong pick here (pierce is resisted); the Staff of Frost (frost = neutral) and a blunt melee (neutral) are the safe choices
Recommended gear for The Queen
Full Padded Armor (Plains tier — Iron + Linen Thread, crafted at a Forge), a blunt melee weapon (Porcupine’s pierce is resisted by her), Staff of Frost, 20 frost arrows, Feather Cape (negates fall damage, very useful if she knocks you off), three foods, fire Barley Wine, and the Wisplight (yes — bring it into the arena). You need visibility to dodge her projectiles.
The Queen Forsaken Power
+100% Eitr regeneration + poison resistance + sneak without stamina cost. This is the best Forsaken Power in the game for Ashlands progression.
Before you leave the Mistlands
- Wisplight + Wisp Torches everywhere — permanent fog is the biome penalty, live with it
- Black Forge built at home — the crafting station for Carapace gear and (later) Ashlands Flametal
- Eitr Refinery running — Sap production needs time, set it up early
- Galdr Table built — magic staffs are game-changing
- Sealbreaker crafted (9 Fragments) — if you beat The Queen
- Dvergr Extractors hauled home — they block portals, sail them
- Root Harnesk equipped permanently — pierce damage follows you to Ashlands too
The six mistakes that get you stuck in the Mistlands
1. No Wisplight before sailing
You cannot see. Literally cannot fight, navigate, or find resources. Build the Wisp Fountain after Yagluth, catch 3-4 Wisps, craft Wisplight, then sail.
2. Trying to carry Dvergr Extractors through a portal
They block portals. Sail them. This is the second most common logistics mistake after Dragon Eggs.
3. Raiding a Dvergr Settlement without a diversion
If you walk in and start smashing chests, every Dvergr in the settlement attacks at once — including Mages with homing magic. Let Seekers or Gjalls attack first, then loot while they fight.
4. Fighting Seekers without Root Harnesk
600+ HP + pierce damage = you die fast. Root Harnesk + Porcupine is the minimum.
5. Building Eitr Refinery inside your base
It shoots damage spheres while refining. They will damage your walls and workbenches. Build it 5 feet outside.
6. Forgetting that The Queen needs 9 Sealbreaker Fragments
You cannot craft the Sealbreaker with fewer than 9. Clear 2-3 Infested Mines, collect all fragments, then craft and sail to the Citadel. Do not show up to the Citadel without it.
Related
- full-progression-guide — the full Plains → Mistlands → Ashlands handoff
- plains guide — Yagluth + Torn Spirit + Wisps = the gate into Mistlands
- portal-network-guide — why Dvergr Extractors and Black Metal scrap force Longship logistics
- The Queen boss page — summon recipe, attack patterns, resistance profile and loot
Frequently asked questions
- How do I get Wisps for the Wisplight?
- Build a Wisp Fountain (10 Stone + 1 Torn Spirit) at your home base using a Stonecutter. At night, Wisps spawn around the fountain — they look like glowing blue orbs floating near the ground. Catch them by walking close and pressing E. One Wisp Fountain produces about 9 Wisps per night. You need 1 Wisp + 1 Silver to craft a Wisplight at a Workbench.
- What is the Wisplight and why do I need it?
- The Wisplight is an accessory that clears fog in a 10-meter radius around you. The Mistlands have permanent fog that makes visibility nearly zero without it. You literally cannot navigate, fight, or find dungeons without this item. Crafted from 1 Wisp + 1 Silver at a Workbench. It occupies the accessory slot, so you lose access to the Megingjord and Wishbone while wearing it — swap back when farming resources.
- What is Eitr and how do I get Refined Eitr?
- Eitr is Valheim's magic resource system. First, you unlock the Eitr stat bar by eating Eitr-containing food (Magecap mushrooms, crafted Eitr meals). Refined Eitr is the crafting resource: combine Sap (from Sap Extractors on Yggdrasil Roots) with Soft Tissue (mine Soft Tissue nodes in the Mistlands or loot Dvergr settlement chests) at an Eitr Refinery. Refined Eitr fuels all magic gear and crafting stations.
- How do I summon The Queen?
- You need a Sealbreaker — crafted from 9 Sealbreaker Fragments found inside Infested Mines (Mistlands dungeons). Take the Sealbreaker to an Infested Citadel and use it on the altar inside. The Citadel location is revealed by a Vegvisir that also drops from Infested Mines. The Queen is the hardest boss in the classic progression line — come with full Padded or Carapace armor, a blunt weapon or the Frostner (her pierce resistance makes pierce weapons like the Porcupine less effective), and magic staffs.
Related guides
- Valheim Plains Guide — Deathsquitos, Fulings, Black Metal and Yagluth
The full Plains guide for Valheim 1.0: surviving Deathsquitos and their 90 pierce damage, clearing Fuling Villages for Black Metal scrap, farming Barley and Flax, taming Lox, and beating Yagluth to unlock the Mistlands and magic.
Verified Valheim 1.0 - Valheim Ashlands Guide — Flametal, Charred Fortresses, Portal Stone and Fader
The full Ashlands guide for Valheim 1.0: sailing the boiling waters with Drakkar, mining Flametal from lava, finding Bell Fragments in Charred Fortresses, crafting the Portal Stone to carry ores through portals, and beating Fader to unlock the Deep North.
Verified Valheim 1.0 - Valheim Mountain Guide — Silver, Wolves, Frost and Moder
The full Mountain guide for Valheim 1.0: surviving the Freezing debuff, finding silver with the Wishbone, farming wolves for Wolf Cape and Wolf Armor, collecting Dragon Eggs, and beating Moder to unlock the Plains.
Verified Valheim 1.0